Getting Started with GCSS
Welcome to the GCSS documentation. This guide will walk you through setting up your EV charging management platform from scratch.
System Requirements
Before installing GCSS, ensure your server meets the following minimum requirements:
| Component | Minimum | Recommended |
|---|---|---|
| CPU | 2 cores | 4 cores |
| RAM | 4 GB | 8 GB |
| Disk Space | 40 GB | 80 GB |
| Operating System | Ubuntu 20.04+, Debian 11+, CentOS 7+, Rocky 8+, and other mainstream Linux distributions | |
| CPU Architecture | x86_64 only — ARM is not supported | |
| Network | Outbound internet access (to install Docker and download the installer) | |
| Open Ports | 8002 (PC console), 8003 (mobile H5), 8004 / 8005 (charger connections) — defaults; may differ for custom or multi-instance installs | |
| Permissions | root or sudo access | |
Installation Guide
Follow these steps to install GCSS on your server.
Step 1: Prepare a Linux Server
GCSS supports deployment on mainstream Linux distributions including CentOS, Ubuntu, and Debian. The following CPU architectures are supported:
ssh root@your-server-ipStep 2: Run Installation Script
Connect to your server via SSH and run the following command to start the automated installation:
bash -c "$(curl -fsSL http://8.163.11.234:4000/install/start.sh)"The script will automatically detect your system environment, install required dependencies, and configure the GCSS platform. The entire process typically takes 5-10 minutes depending on your server specs and network speed.
Step 3: Access Admin Panel
Once the installation completes, the script will display the access URL for your admin panel. Open your browser and navigate to the provided URL (typically http://your-server-ip:port).
# Check Docker containers are running
docker ps

# Check GCSS service status
systemctl status gcss
Log in with the default administrator credentials shown at the end of the installation output. We strongly recommend changing the default password immediately after your first login.
First Login
After installation, access the admin panel to configure your platform.
Accessing the Admin Panel
Open your browser and navigate to your server's IP address with the PC console port (8002 by default):
http://your-server-ip:8002Not sure of your port, or installed with custom settings? Run this on the server to find the live ports:
docker ps --format '{{.Names}}\t{{.Ports}}' | grep -E 'cpo|h5'Default Credentials
Use the following default credentials to log in:
| Field | Value |
|---|---|
| Username | root |
| Password | 123456 |
Mobile Access (End Users)
End users connect via the mobile H5 web app, using the same server address with the H5 port (8003 by default):
http://your-server-ip:8003What's Next?
After logging in, you can:
- Add your first charging station
- Configure billing rates and payment gateways
- Set up user accounts and permissions
- Connect chargers via OCPP protocol
- Customize branding and language settings
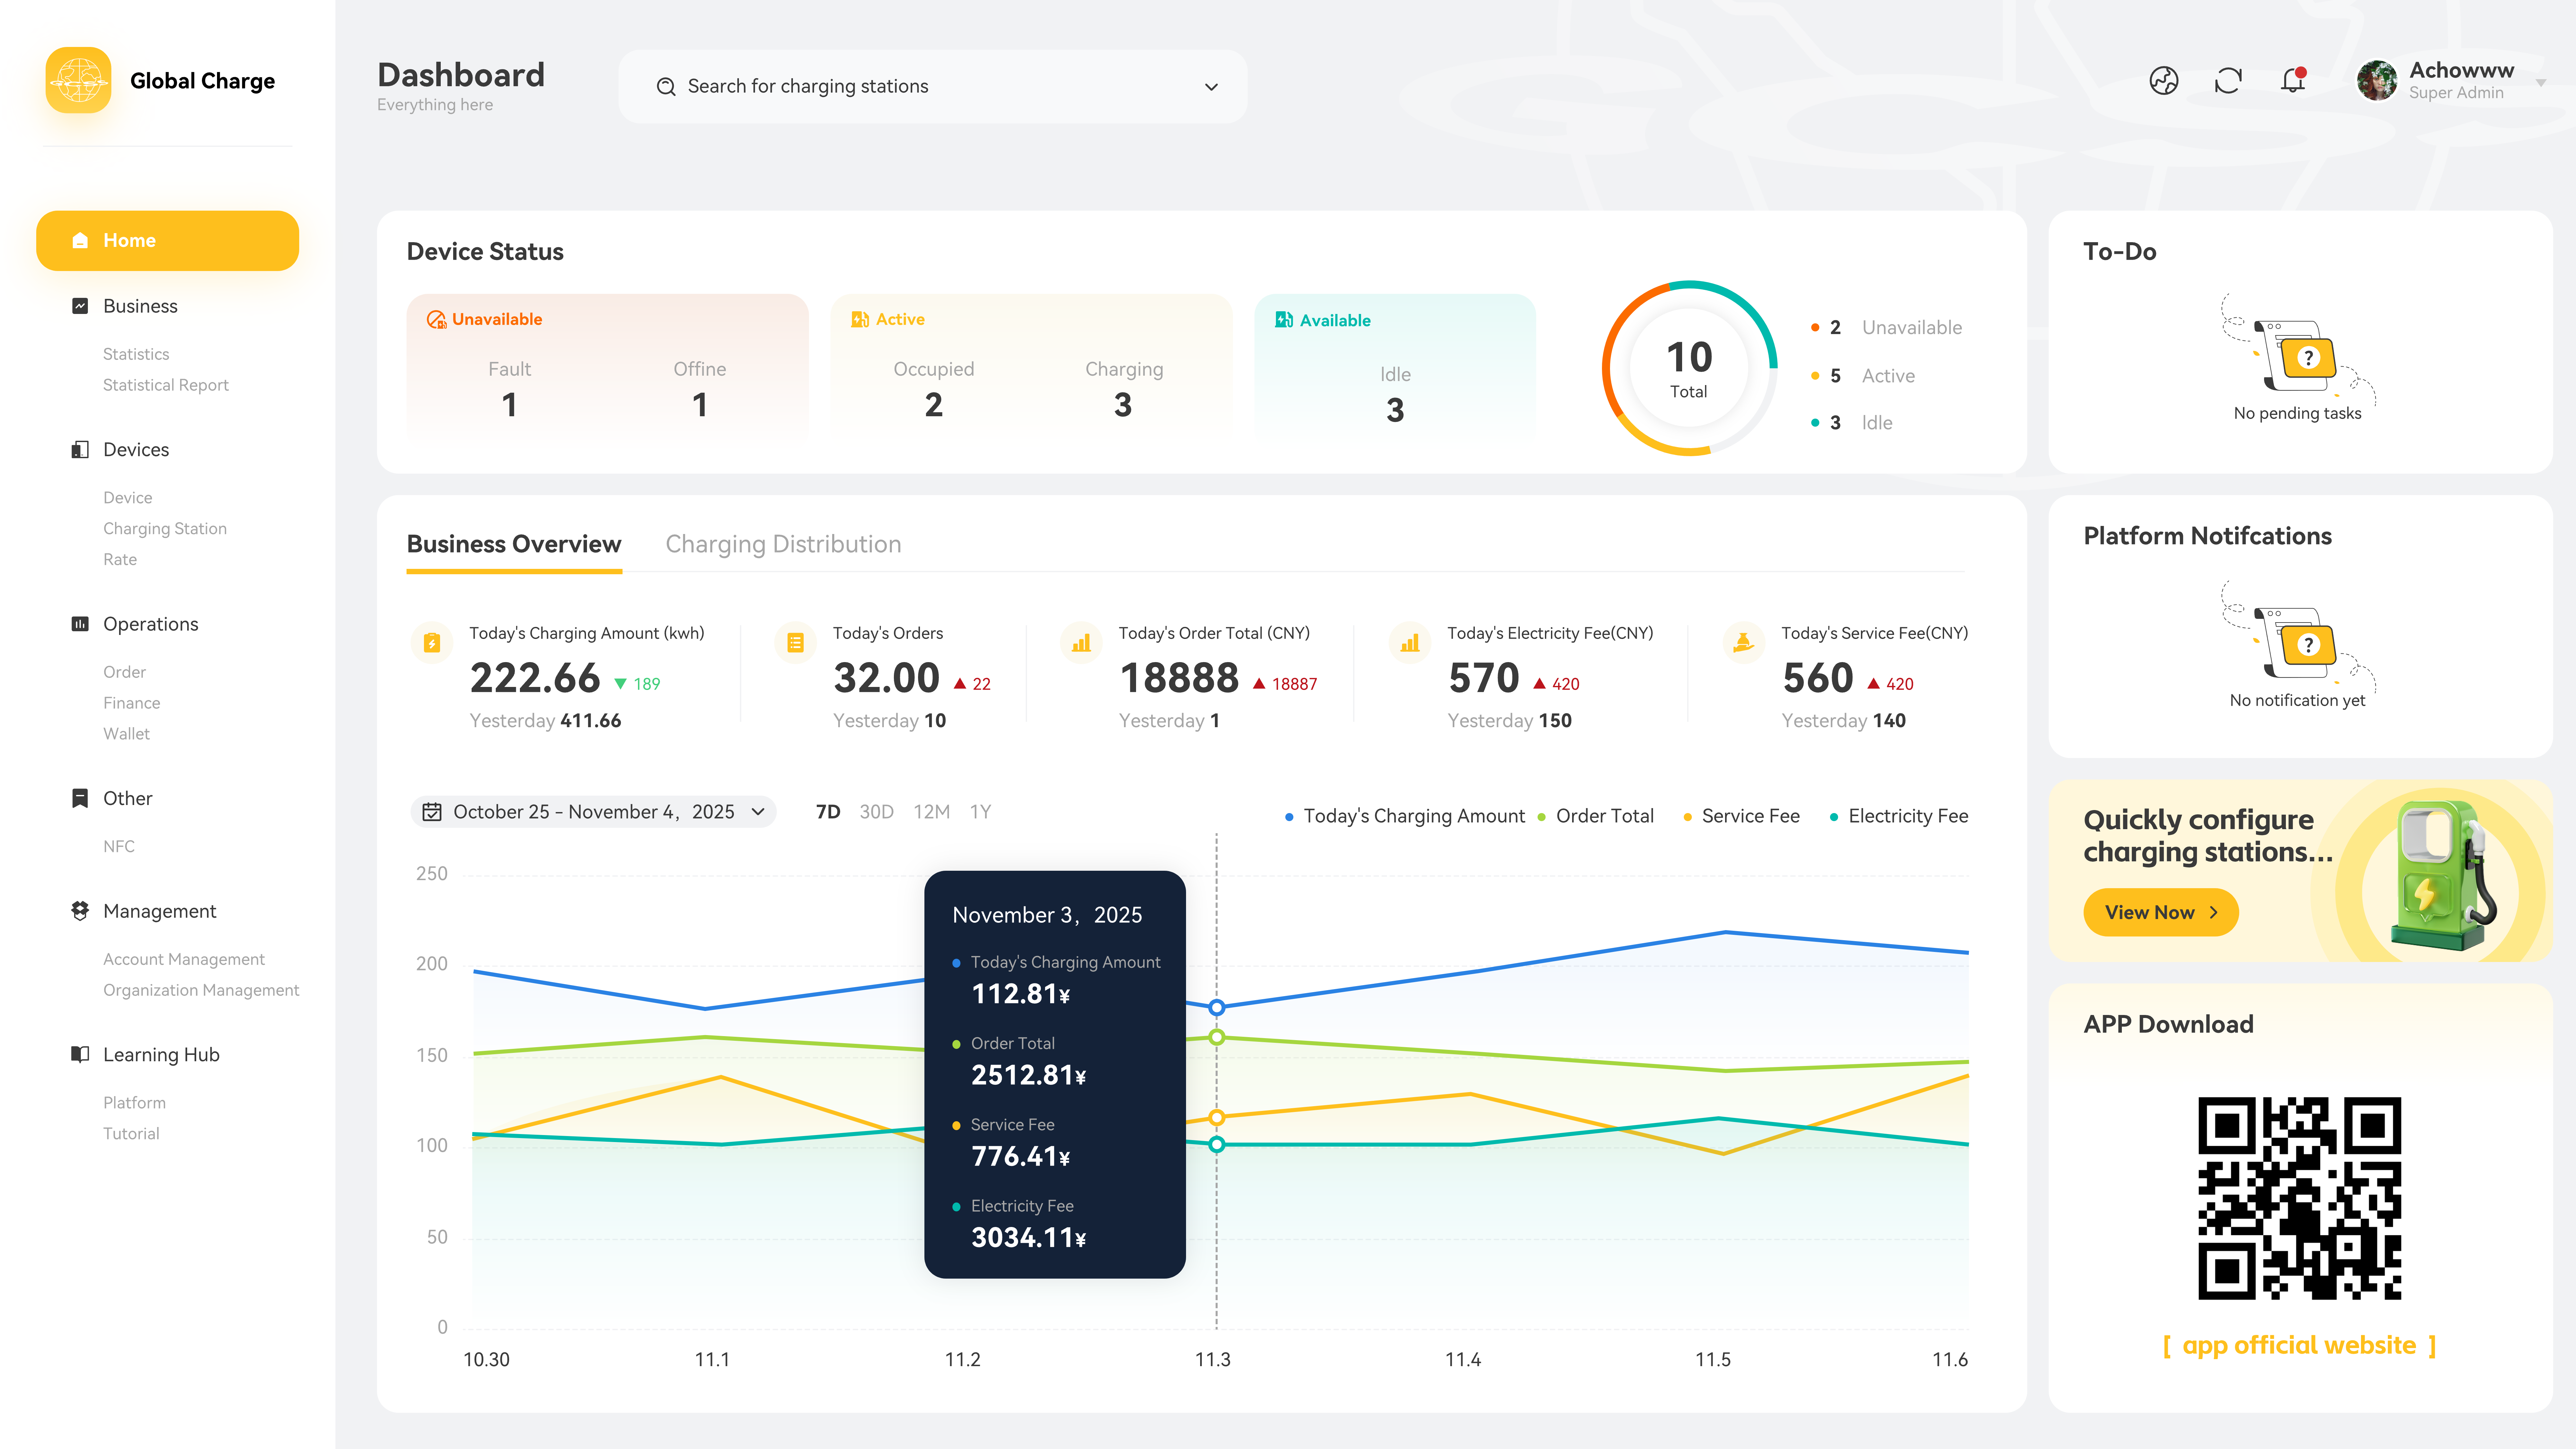
Dashboard Overview
The main dashboard provides real-time analytics and management controls for monitoring your charging infrastructure and operations.